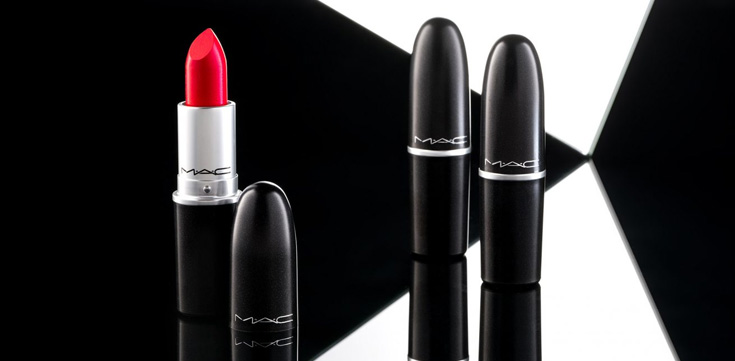
With e-commerce in its various guises continuing to be popular, thanks to sites like eBay and Etsy and platforms like Shopify; and people monetizing their blogs and Instagram pages – users are always on the lookout for ways to take better, more professional product photographs.
Whether you are a crafter, a cook, an artist or someone looking to sell second-hand or brand new stuff, one of the best ways to take professional and high-quality photographs is by using a photography light box, also known as a light tent.
If you have never heard of a light box before, this is the post for you as we will not only highlight what they are but how you can use them to take amazing and captivating product shots of your subjects every single time.

Table of Contents
What Is A Photography Light Box?
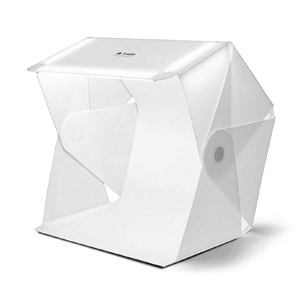
A light box or photography tent is an accessory that generally has sides made from a semi-transparent material that diffuses the light coming from a number of different sources. This provides an almost completely shadow-less and even amount of light to hit against a solid, simple background.
There are various ways you can get a light box. You can either buy one, like the Foldio Photography Light Box or you can make your own. When you choose to purchase a light box kit, you will usually get the box, lights, light stand, fabric backgrounds in a number of different colors and possibly even a tripod.
If though, you decide to build your own, you will also have to buy light sources such as softbox lights that can be posed, light bulbs or speedlight flashes and fabric or poster board for the backdrop.
How To Take Professional Photos With a Light Box
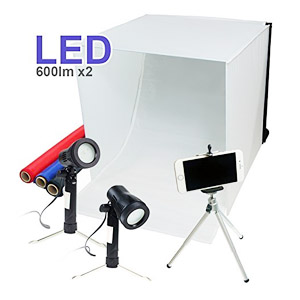
The normal setup for a light box is to place it on a table or a flat surface and have the light sources pointing directly opposite each other at either side of the box, with a tripod and camera at the front and center. By placing it on a table, you make it easier to maneuver everything and see exactly what you are shooting.
The backdrop you choose is attached at the inside of the lightbox at the top and should be dropped down flat and then sat across the box’s bottom. It is crucial to make sure the backdrop is completely clean and clear of any wrinkles, creases or debris. When using a fabric variety, it is recommended that you iron It to give it as smooth a look as possible before you use it. You should also invest in a small blower or lint remover to free the backdrop of debris and dust that may settle on it.
You are now ready to take some photos! Start by putting the subject/whatever you want to snap into the box, placing it exactly in the center, to begin with. When you move the item either backward or forwards, the shadows and lighting will change. This involves some trial and error, but move it and experiment until you get it looking just how you want it to. It may also help to move and re-position the lights at different angles, instead of just directly at the box.
Importantly though, make sure you leave adequate space between the box walls and the item or subject to give you some room to position and zoom your camera in to take a picture that is tight on the item and backdrop, but doesn’t include unsightly box edges.
Furthermore, you need to think about the ambient lighting in the room and alter that if necessary. Place the light box so that direct sunlight is not shining at or into the lightbox, as you will find it very hard to balance. Check out our tips for professional product photography if you need more help.
Pssssst! Take a look at our best selling LED Photo Light Boxes that our customers pick;
- Easily Portable
- Kickstarter Backed
- Reputable Brand
- Multiple Accessories

- Up to 32x32x32 Inch
- Dimmable LED Lights
- Easy To Store
- High Quality Build
- Super Affordable
- Comes with 2 Lights
- 1000+ Reviews
- Multiple Backdrops
Setting Up Your Camera
Secure your camera properly to your tripod and use a remote shutter release or 2- second timer to make sure it stays perfectly still. Using a tripod allows you the opportunity to make use of longer shutter speeds and produces sharp and professional results.
Start by taking pictures in aperture priority mode with the ISO set to 100, or whatever the lowest ISO is for your camera’s brand and model. Pick the aperture that suits the type of image you want, for instance, for a sharp focus on the whole item and wider depth of field, select a narrow aperture setting like f/22 or for a wider aperture with lots of blurs and a narrow depth of field, opt for something like f/1.8.
Food bloggers tend to use selective blurring and wide apertures to make their food more appetizing; whereas crafters prefer to use narrower apertures to ensure the item is fully in focus. To avoid blurring occurring in the foreground of the picture, set the focus according to the part of the item being snapped that is nearest to the camera.
It is also a good idea to consider the merits of exposure compensation by taking three different shots with the exposure bracketed at +1, 0 and -1 to see which you prefer. +1 will produce better results for white background shots, while -1 will usually produce better shots when working with dark backgrounds. In situations where a complete stop is too light or dark, test a 1/3 or even ½ a stop.
Product Photography Post-Processing Tips

Try as you may, you might still find it hard getting the backgrounds either perfectly black or white while ensuring your subject exposed properly. This is when you may have to use some tweaking in post-processing.
Although the following tips involve Adobe Photoshop, it is possible to do most of them using your own preferred photo editing software.
Adjusting The Image White Balance
Are you photographing in RAW? Alter the white balance so that the whites are not yellow but brilliant white. As most bulbs have a color temperature, this can be used as a measuring stick for adjusting the white balance. The white balance can also be set correctly by photographing a white piece of card and calibrating it from the image.
Alternatively, if the background you are using is definitely black or white, use the color chooser in the processor to remove any tint.
Using The DSLR Histogram
The histogram can be used as a guide during photograph processing. Although traditional advice dictates that you should avoid the histogram touching the scale edges, this is the best way to achieve pro shots. When you clip the background, either on the right if white or left if black, create a completely balanced look, ensuring that all focus is on the item you are snapping.

Photoshop has a Levels tool that can adjust the ends of the histogram. When you press down the Alt key you can adjust the sliders and look at what you are clipping on the photograph. Try moving the slider into the center until the background is the same all over, but the item is not. If this has too much impact on the item or subject, you will have to reduce the adjustment somewhat.
A very thin border around the final image can help produce a more uniform background if you are working with white.
