
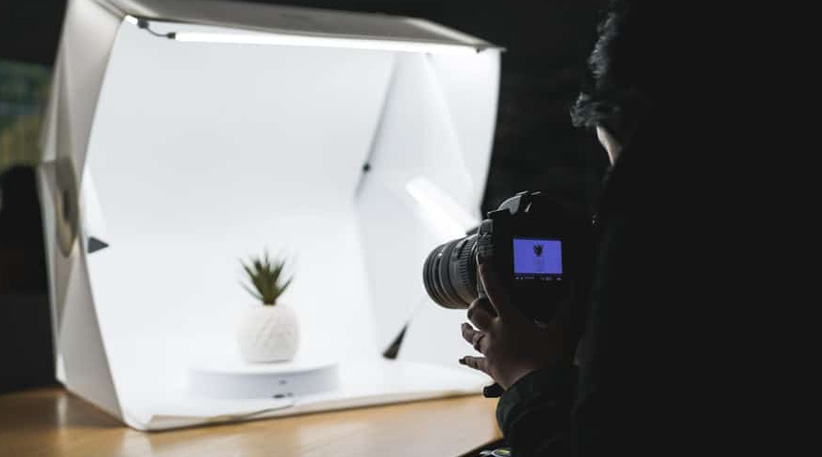
A light box is a great tool for taking closeup photos of objects which is why many small scale online businesses use one to photograph their products.
It takes away unwanted shadows, gives you more control over your product photography lighting and creates consistency in the photo series.
Having a professional photography light box at the ready is a smart idea but sometimes you find yourself in a pinch and need to improvise. For these occasions, take a look at these DIY tips for an ad hoc light box setup.

Table of Contents
Cutting Out The Cardboard Box
You can transform an ordinary cardboard box into a DIY light box with just a few simple tools and basic household items.
All you need is a ruler, marker, scissors or Stanley knife, glue and white paper.
1. Cut off the flaps
An already opened box is completely fine because you need to cut off the folding flaps of one side, anyway. It is easier to do this with a stanley knife, especially if the cardboard is thick.
2. Outline the ‘windows’
Measure 1.5 inches from each edge and draw out the square ‘window’ following this distance on each side but not the bottom. If you are using an especially small box then you might want to measure 1 inch or less.
3. Cut out the windows
Check that all the lines are straight before you cut out the windows. You can throw away the pieces you took out because you will be replacing the space with a different material.

4. Whiten the interior
White is the most preferable color because this is the easiest to edit and lets you spot any dust easily. You can choose a regular paint but a matte white spray paint will give you the best finish.
Note: Larger dimensions is always preferable because it is more practical. You want to make sure that all the objects have plenty of space for the best lighting results.
Alternatively, you can use larger pieces of white paper to line the interior but make sure that it is the thick kind so that the brown cardboard does not shine through in the pictures. If you choose paper, then use a longer sheet for the back wall and bottom so that there is a curve instead of a sharp edge.

5. Make the bottom smooth
You don’t want to see the folds of the bottom flaps in the picture so cover this with thick white paper.
6. Attach diffusers
Direct light into the box can be harsh which is why you need a diffuser to cover the windows. Simple white printer paper should do the job.
7. Test it out
Once you have finished, take a few test shots to check whether all sides are a smooth white and you don’t see any unwanted edges. Place the light at each window so you can check the result of each angle.

Always Create a Curved Backdrop (Known as a Sweep)
As mentioned, it is best to use a longer sheet of paper for the backdrop so that there is a curve instead of a clear edge where the floor meets the wall. This is a photography trick, called a sweep, that makes editing the final result much easier.
What this sweep does is create a continuous backdrop that eliminates unwanted lines and shadows.
Distance also becomes less clear so you don’t have to worry about showing proportions, as much.
This is arguably the most important aspect of a photography light box so, if you do not have one on hand, this is the part that you should focus on. Fortunately, this can be done in a matter of seconds.
Any white backdrop, be it a clean white sheet or a long piece of poster paper can function as your sweep.
Place it near a window to catch as much sunlight for a natural scene.
Alternatively, you can compensate for lack of sunlight by angling regular living room lamps and desk lamps towards the object. However, always keep in mind what shadows you are creating when you do so because these shadows need to be edited out later.

Diffuser Alternatives
Can’t find a piece of paper that is the right size? There are several household items that you can use as an alternative.
Shower curtains made of thinner materials are a great resource because they are so large and so are regular white curtains if you can get them off the railing easily. Any white cotton fabric like a t-shirt, bed sheet or table cloth also all work fine.
As long as the material is a solid color and lets through some of the light, it can be used. It does not even have to be white if you want to get creative and experiment with the different effects of other shades.
One of the things you should remember is whether the material is flammable or not and what your light source is. LED photography lights are the safest because they let off practically no heat.
If you are using non-LED artificial sources then make sure that it stands at a reasonable distance from your diffusers to avoid a potential fire hazard. It is easy to forget to check when you are focuses on getting the perfect shot.
Are DIY Boxes Better than Professional Photography Boxes?
The short answer is no. A professional photography light box will give you cleaner lines, better light diffusion and special slots for your camera so you can shoot from different angles.
On top of that, most designs are also meant to be portable and easily stored away. This makes the store-bought options more practical which is an important plus for professional photographers that don’t have a home studio.
If you’d rather buy a professional light box, here are our top 3 picks from our best light box reviews page:
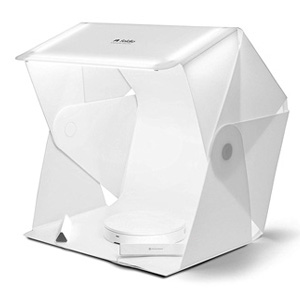
- Incredibly Portable
- Kickstarter Launched
- Super Lightweight
- Quality Add Ons

- Up to 32x32x32 Inch
- Dimmable LED Lights
- Easy To Store
- High Quality Build
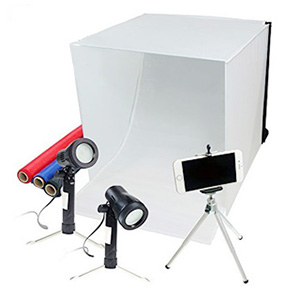
- Super Affordable
- Comes with 2 Lights
- 1400+ Reviews
- Multiple Backdrops
So, although you can gather up a few basic items to create a last-minute photography box, this should be your last resort. There are already enough factors that you need to control for the perfect picture.

1 comment
Great Article. Thank you for sharing thoughts regarding this matter. Looking forward for your next post.